

A 7-segment LED display is a type of electronic display device that is commonly used to display numbers, letters, and other characters. In this article we learn how exactly they work and how we can use the Arduino to control them and make useful staff.
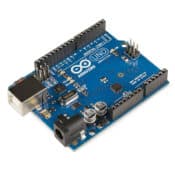
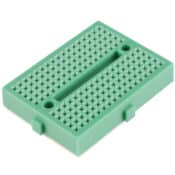
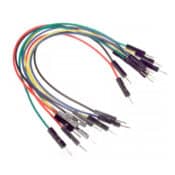
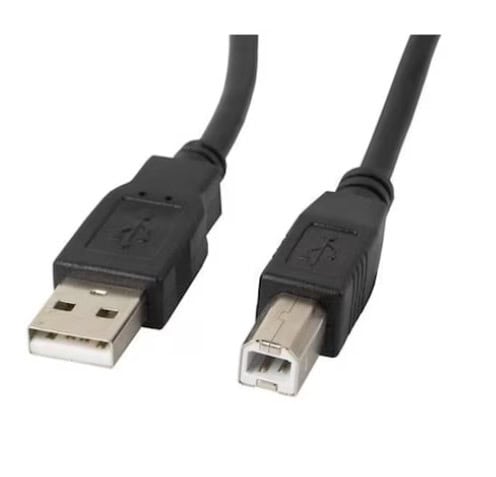
Parts Used

* This website includes affiliate product links. We may earn a commission if you make a purchase after clicking on one of these links. Your support is greatly appreciated!
How 7-Segment LED Display work
A 7-Segment LED Display consists of 8 discrete segments arranged in the shape of the number “8”, with an additional LED segment for a decimal point. These segments are controlled by individual input pins, allowing the display to show specific characters or numbers.
There are two wirings when it comes to 7-Segment LED displays: common anode and common cathode. Typically, all of the cathodes (negative terminals) or all of the anodes (positive terminals) of the segment LEDs are connected and brought out to a common pin; this is referred to as a “common cathode” or “common anode” device.
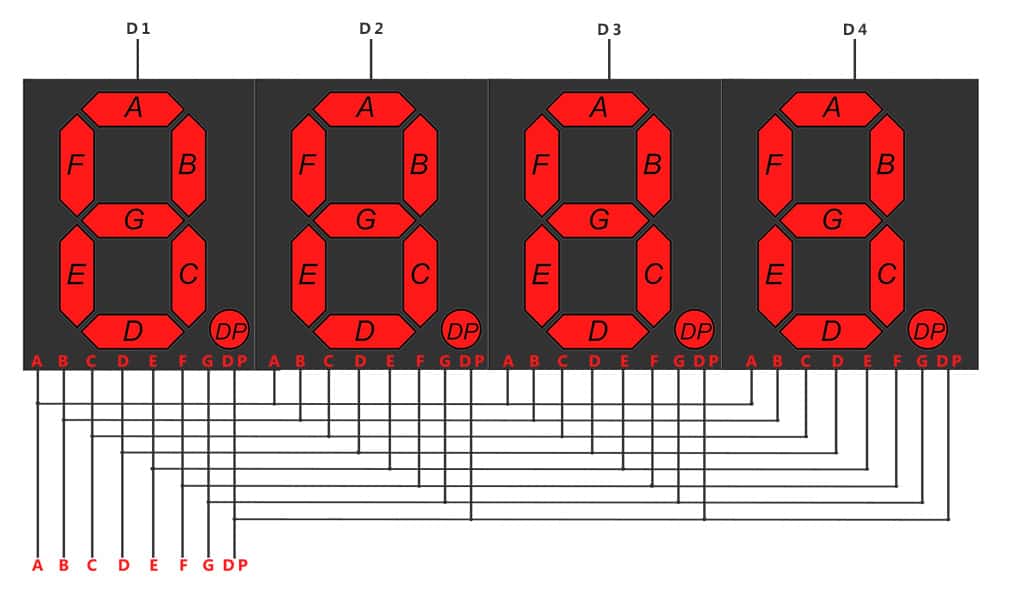
The pinout of a common 7-segment LED display block is shown below. We have also labeled the various segments to make the mapping from segment to the pin clear.

To create a 4-digit display, four individual 7-segment displays are usually connected together, with each display representing a single digit. To reduce the number of pins required for a 4-digit LED display, we multiplex the pins of each LED display block with the others. As a result, each LED block’s segment pin is connected to all the others LED block’s corresponding segment.

This reduces the number of pins of a multi-digit display but increases the complexity of controlling it. For example, with this wiring, if we apply voltage to the A pin of the 4-digit display, the A segments of all LED blocks will be turned on. In order to control which LED block will let that signal to pass, we have another pin for each of the LED blocks, the digit pin. Therefore, in a 4-digit display we will also have 4 digit pins that control the LED blocks individually. Below we show the 4 digit LED display with the additional 4 control input pins, one for each of the LED block.
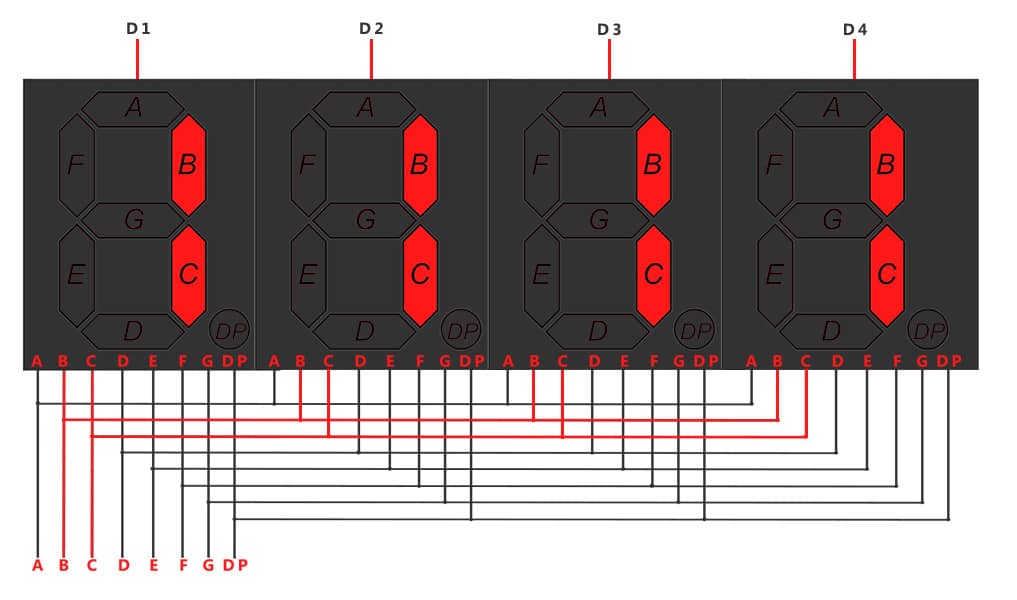
As a result if we want to display the number 1111, we have to apply voltage to the D1, D2, D3 and D4 because all displays will show a digit. We also need to apply voltage to inputs B and C as shown below:
4-Digit 7-Segment LED display PINOUT
A typical 4-digit 7-segment LED display has 12 pins, with six pins on each side, as shown in the figure below.
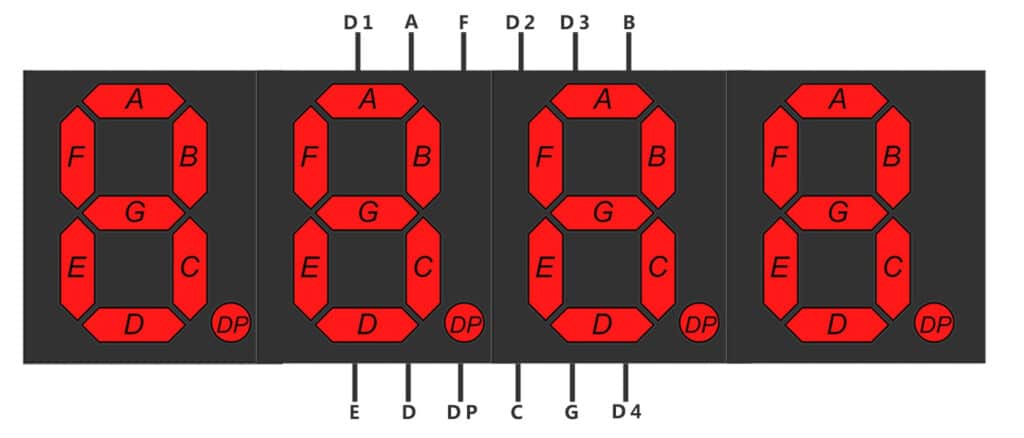
Four of these pins (D1, D2, D3, and D4) are used to control the individual digits and determine which signals pass through the LED blocks. The remaining pins correspond to the individual segments.
Displaying Numbers Using an Arduino
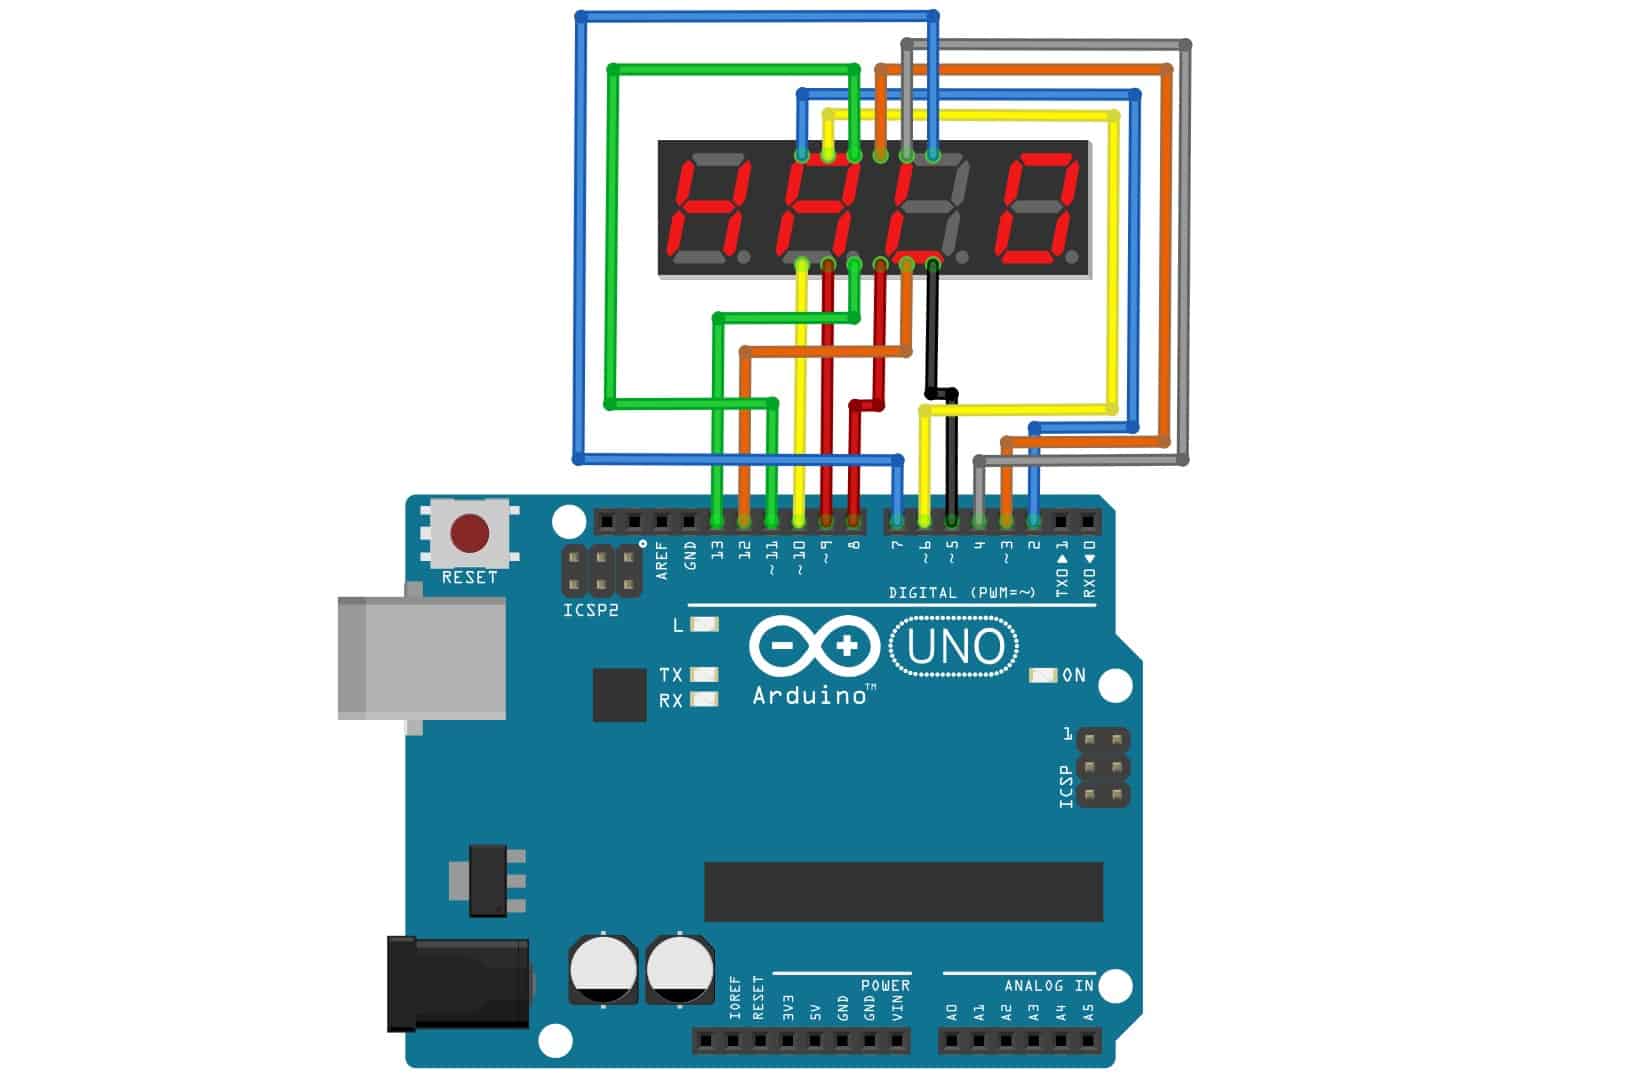
We will use Arduino to control a common cathode LED display. We will use the digital pins 2, 3, 4 and 5 for the digit control inputs and pins 6 to 13 for the segments A through DP.
To turn on a digit on a common cathode LED display, we need to set the pin to LOW. Conversely, to turn it off, we need to set the pin to HIGH. Additionally the ON / OFF of the segments corresponds to the HIGH / LOW of the Arduino. However, this mapping would be opposite for a common anode LED display.
The initial variables and the initialization of the display inside the setup method of the Arduino code is shown below:
byte D1 = 2;
byte D2 = 3;
byte D3 = 4;
byte D4 = 5;

byte A = 6;
byte B = 7;
byte C = 8;
byte D = 9;
byte E = 10;
byte F = 11;
byte G = 12;
byte DP = 13; // decimal point

// Define the input pins for the 7-segment display segments.
const int segmentPins[] = {A, B, C, D, E, F, G, DP};

// Define the input pins for the 7-segment display digits.
const int digitPins[] = {D1, D2, D3, D4};

// For common cathode
uint8_t digitON = LOW;
uint8_t digitOFF = HIGH;

uint8_t segmentON = HIGH;
uint8_t segmentOFF = LOW;

void setup() {
   // Pin initialization.
   for (int i = 0; i < 8; i++) {
      pinMode(segmentPins[i], OUTPUT);
   }
   for (int i = 0; i < 4; i++) {
      pinMode(digitPins[i], OUTPUT);
      digitalWrite(digitPins[i], digitOFF);
   }
}
Connecting the Arduino and the LED Display
We use an Arduino UNO and the LED display HSN-5643S, but any 4-digit 7-segment LED display should be connectable in a similar way. We connect the wires according to the pinout of the display shown earlier and the configuration for the digit and segment pins we created in the previous code.
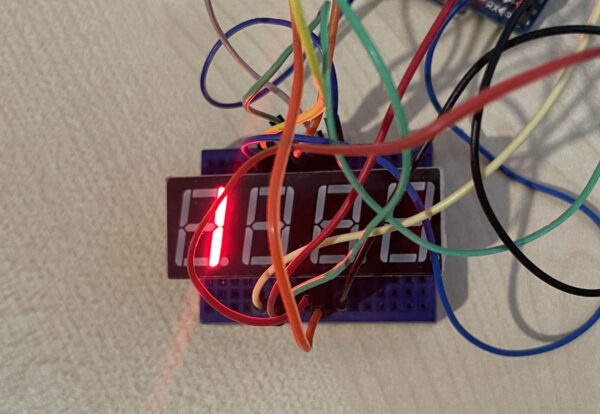
In order to write 1 as the first digit to the display we use the digitalWrite of the Arduino for the D1 (to turn ON the digit) and B, C (for turning ON the corresponding digit segments).
void loop() {
   digitalWrite(D1, digitON); // Turn on the first digit
   digitalWrite(B, segmentON);
   digitalWrite(C, segmentON);
}
The result is shown below:
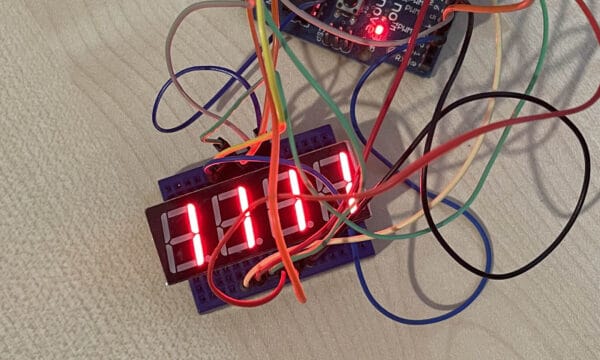
In order to write the same number in all digits we turn on all the digit inputs as shown below:
void loop() {
   digitalWrite(D1, digitON);
   digitalWrite(D2, digitON);
   digitalWrite(D3, digitON);
   digitalWrite(D4, digitON);

   digitalWrite(B, segmentON);
   digitalWrite(C, segmentON);
}
The result is shown below:
Display different numbers for each digit
Displaying different numbers on each digit of a common cathode LED display can be tricky due to the shared connectivity of the segments in each LED block. To overcome this problem, we can use a common trick: if we turn a LED on and off quickly enough, it doesn’t appear to blink but instead can be dimmed to control its brightness. By turning the segments for each digit on long enough, we can display a 4-digit number with each digit potentially different.

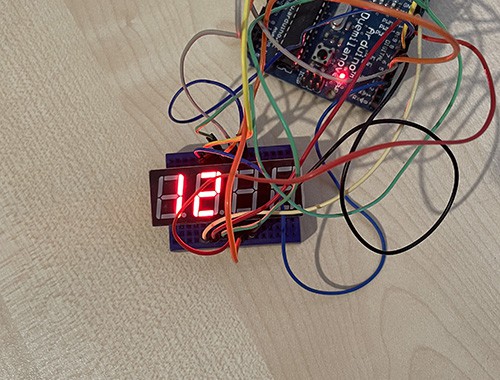
To illustrate this approach, suppose we want to display the number 12 on the first two digits. We first set the segments of the first digit and turn the D1 input ON. Then we repeat by turning the appropriate segments for the number 2 in the second digit by turning the D1 OFF (because that would make the first digit to also display the number 2) and turning the D2 ON.
void loop()
{
   // ===== First Digit =====
   // We iterate through each of the segments of the first digit.
   for (int i = 0; i < 7; i++){
      // we access the bits of the binary number 0b01100000, which corresponds to the segments A, B, C, D, E, F, and the decimal point (DP).
      digitalWrite(segmentPins[i], bitRead(0b01100000, 7 - i) == 1 ? segmentON : segmentOFF);
      // We use the bitRead() function to get the i-th bit, and if it is equal to 1, we set the segment to segmentON, otherwise we set it to segmentOFF.
   }
   digitalWrite(D1, digitON); // We turn on the D1 input to display the first digit.
   delay(10); // We add a delay to control the brightness of the digit.


   // ===== Second Digit =====
   digitalWrite(D1, digitOFF); // We turn off the D1 input.
   // We iterate through each of the segments of the second digit. We use the same approach as before to set the appropriate segments for the number '2'
   for (int i = 0; i < 7; i++){
      digitalWrite(segmentPins[i], bitRead(0b11011010, 7 - i) == 1 ? segmentON : segmentOFF);
   }
   digitalWrite(D2, digitON); // We turn on the D2 input to display the second digit.
   delay(10); // We add another delay to control the brightness.
   digitalWrite(D2, digitOFF); // We turn off the D2 input and repeat the process again.
}
This loop is executing fast enough and is able to display the number 12 to the display as shown below.
Using the SevSeg library
Now that we know the internals of a multidigit 7-segment display we could alternatively use a library to control the display. The SevSeg library is a popular choice for controlling 7-segment displays with an Arduino. This library provides an easy-to-use interface to control the display, and it also includes many useful features like the ability to configure common anode or common cathode displays, the use of external resistors for the digit inputs, and adjust display brightness.
To use the SevSeg library, you will need to download and install it first. Once you have installed the library, you can include it in your Arduino sketch by adding the following line at the beginning of your code:
#include <SevSeg.h>
Next, you will need to define the pins that are connected to the display segments and digits. You can do this using the SevSeg object, which takes the pin numbers and other configuration options as parameters. Here is an example of how to set up a display with four digits and the pins connected to the segments and digits:
#include "SevSeg.h"
SevSeg sevseg;

void setup() {
    byte numDigits = 4;
    byte digitPins[] = {2, 3, 4, 5};
    byte segmentPins[] = {6, 7, 8, 9, 10, 11, 12, 13};
    bool resistorsOnSegments = 0;

    sevseg.begin(COMMON_CATHODE, numDigits, digitPins, segmentPins, resistorsOnSegments);
    sevseg.setBrightness(60);
}

void loop() {
    sevseg.setChars("1234"); // set the characters/numbers to display.
    sevseg.refreshDisplay();
}
Once you have set up the SevSeg object, you can use the setChars function to display a number on the display.

2 Comments
This was extremely helpful
Where are your resistors. My background is software, not hardware. But from searching the internet, it seems you need some resisters. Additionally, I have a common anode 3461BS display. Where would I put the resisters? How would the wiring look for this scenario?
Thanks,
Dan